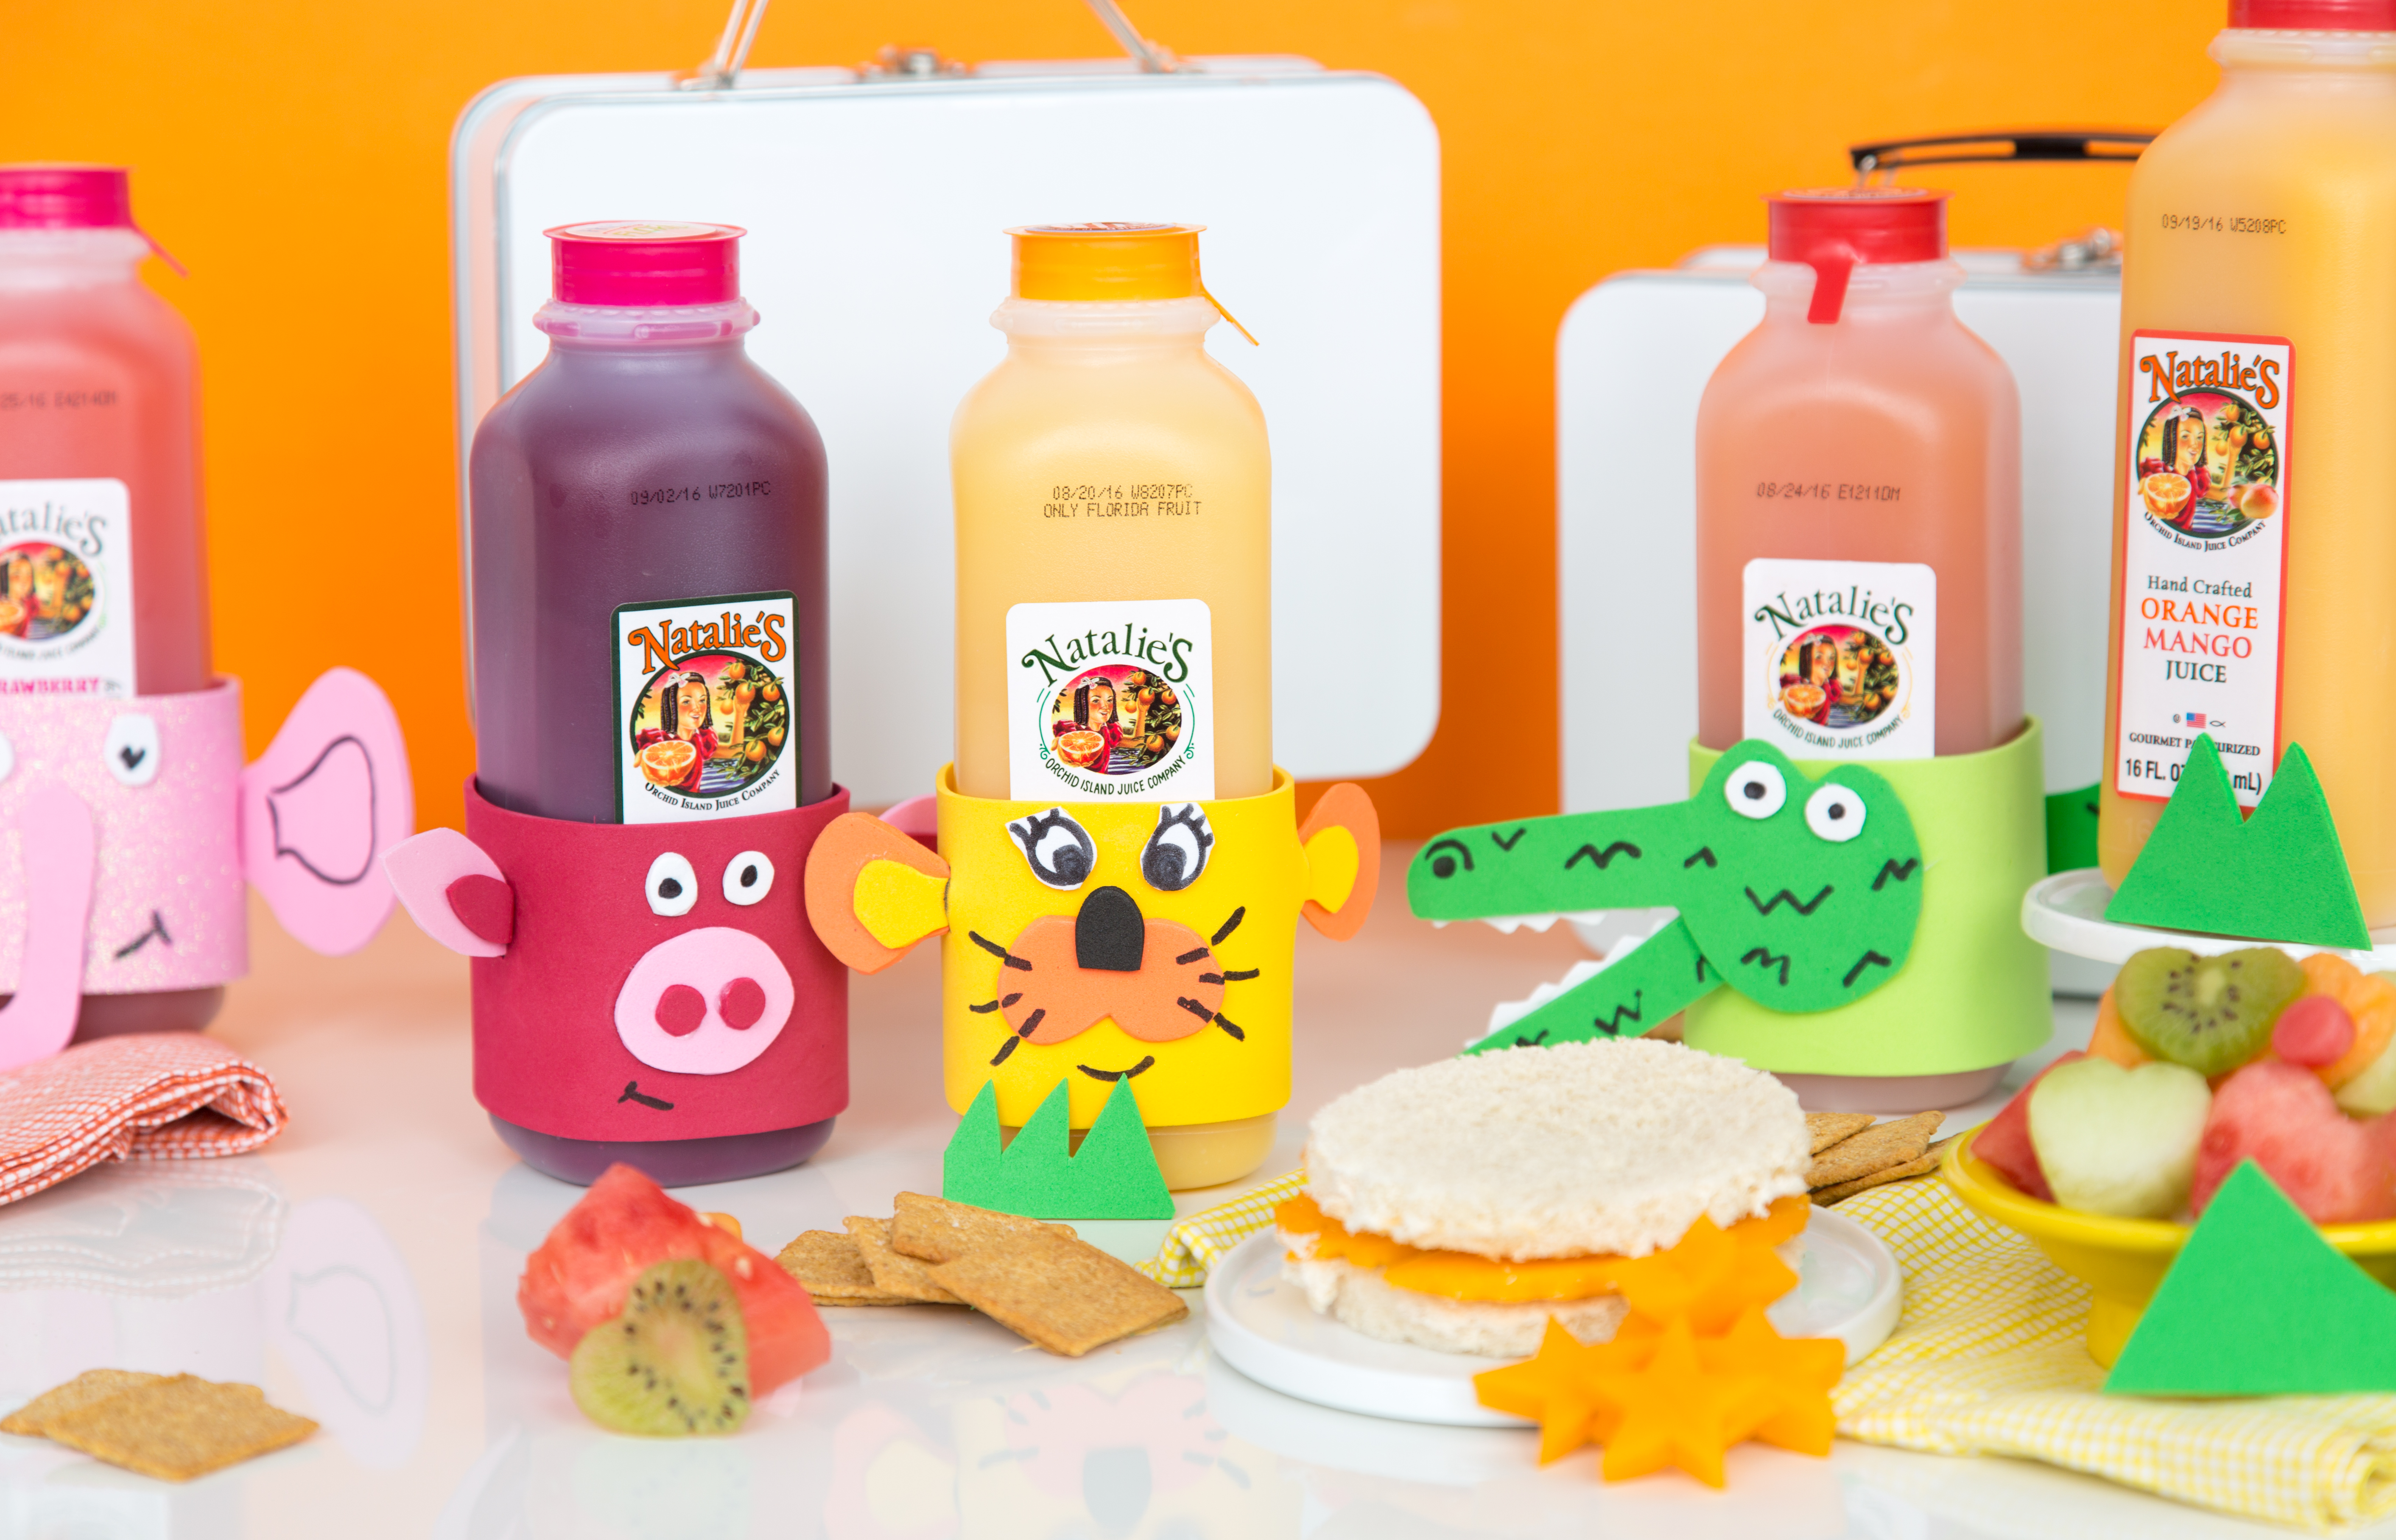


Natalie’s Back to School Lunch Box DIY
Don't let the summer fun end as you head back to school. Natalie's brings you a fun filled DIY for you lunch box for the new school year!
Date: August 19th, 2016Supplies
- • Colored Foam
- • Scissors
- • Sharpie
- • Craft Glue
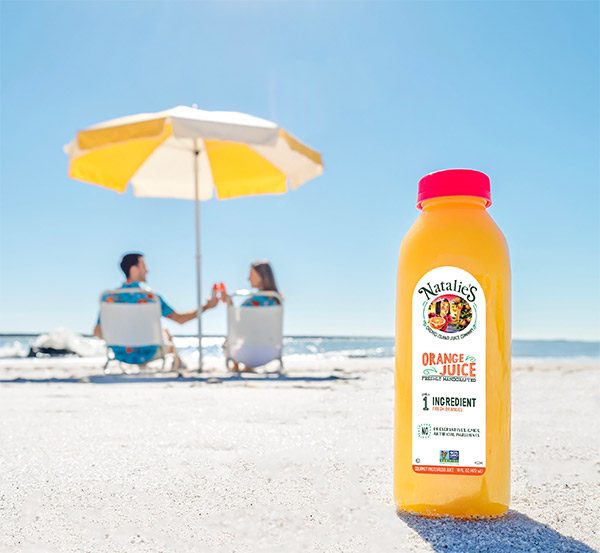
- • Your Favorite Natalie’s Juice
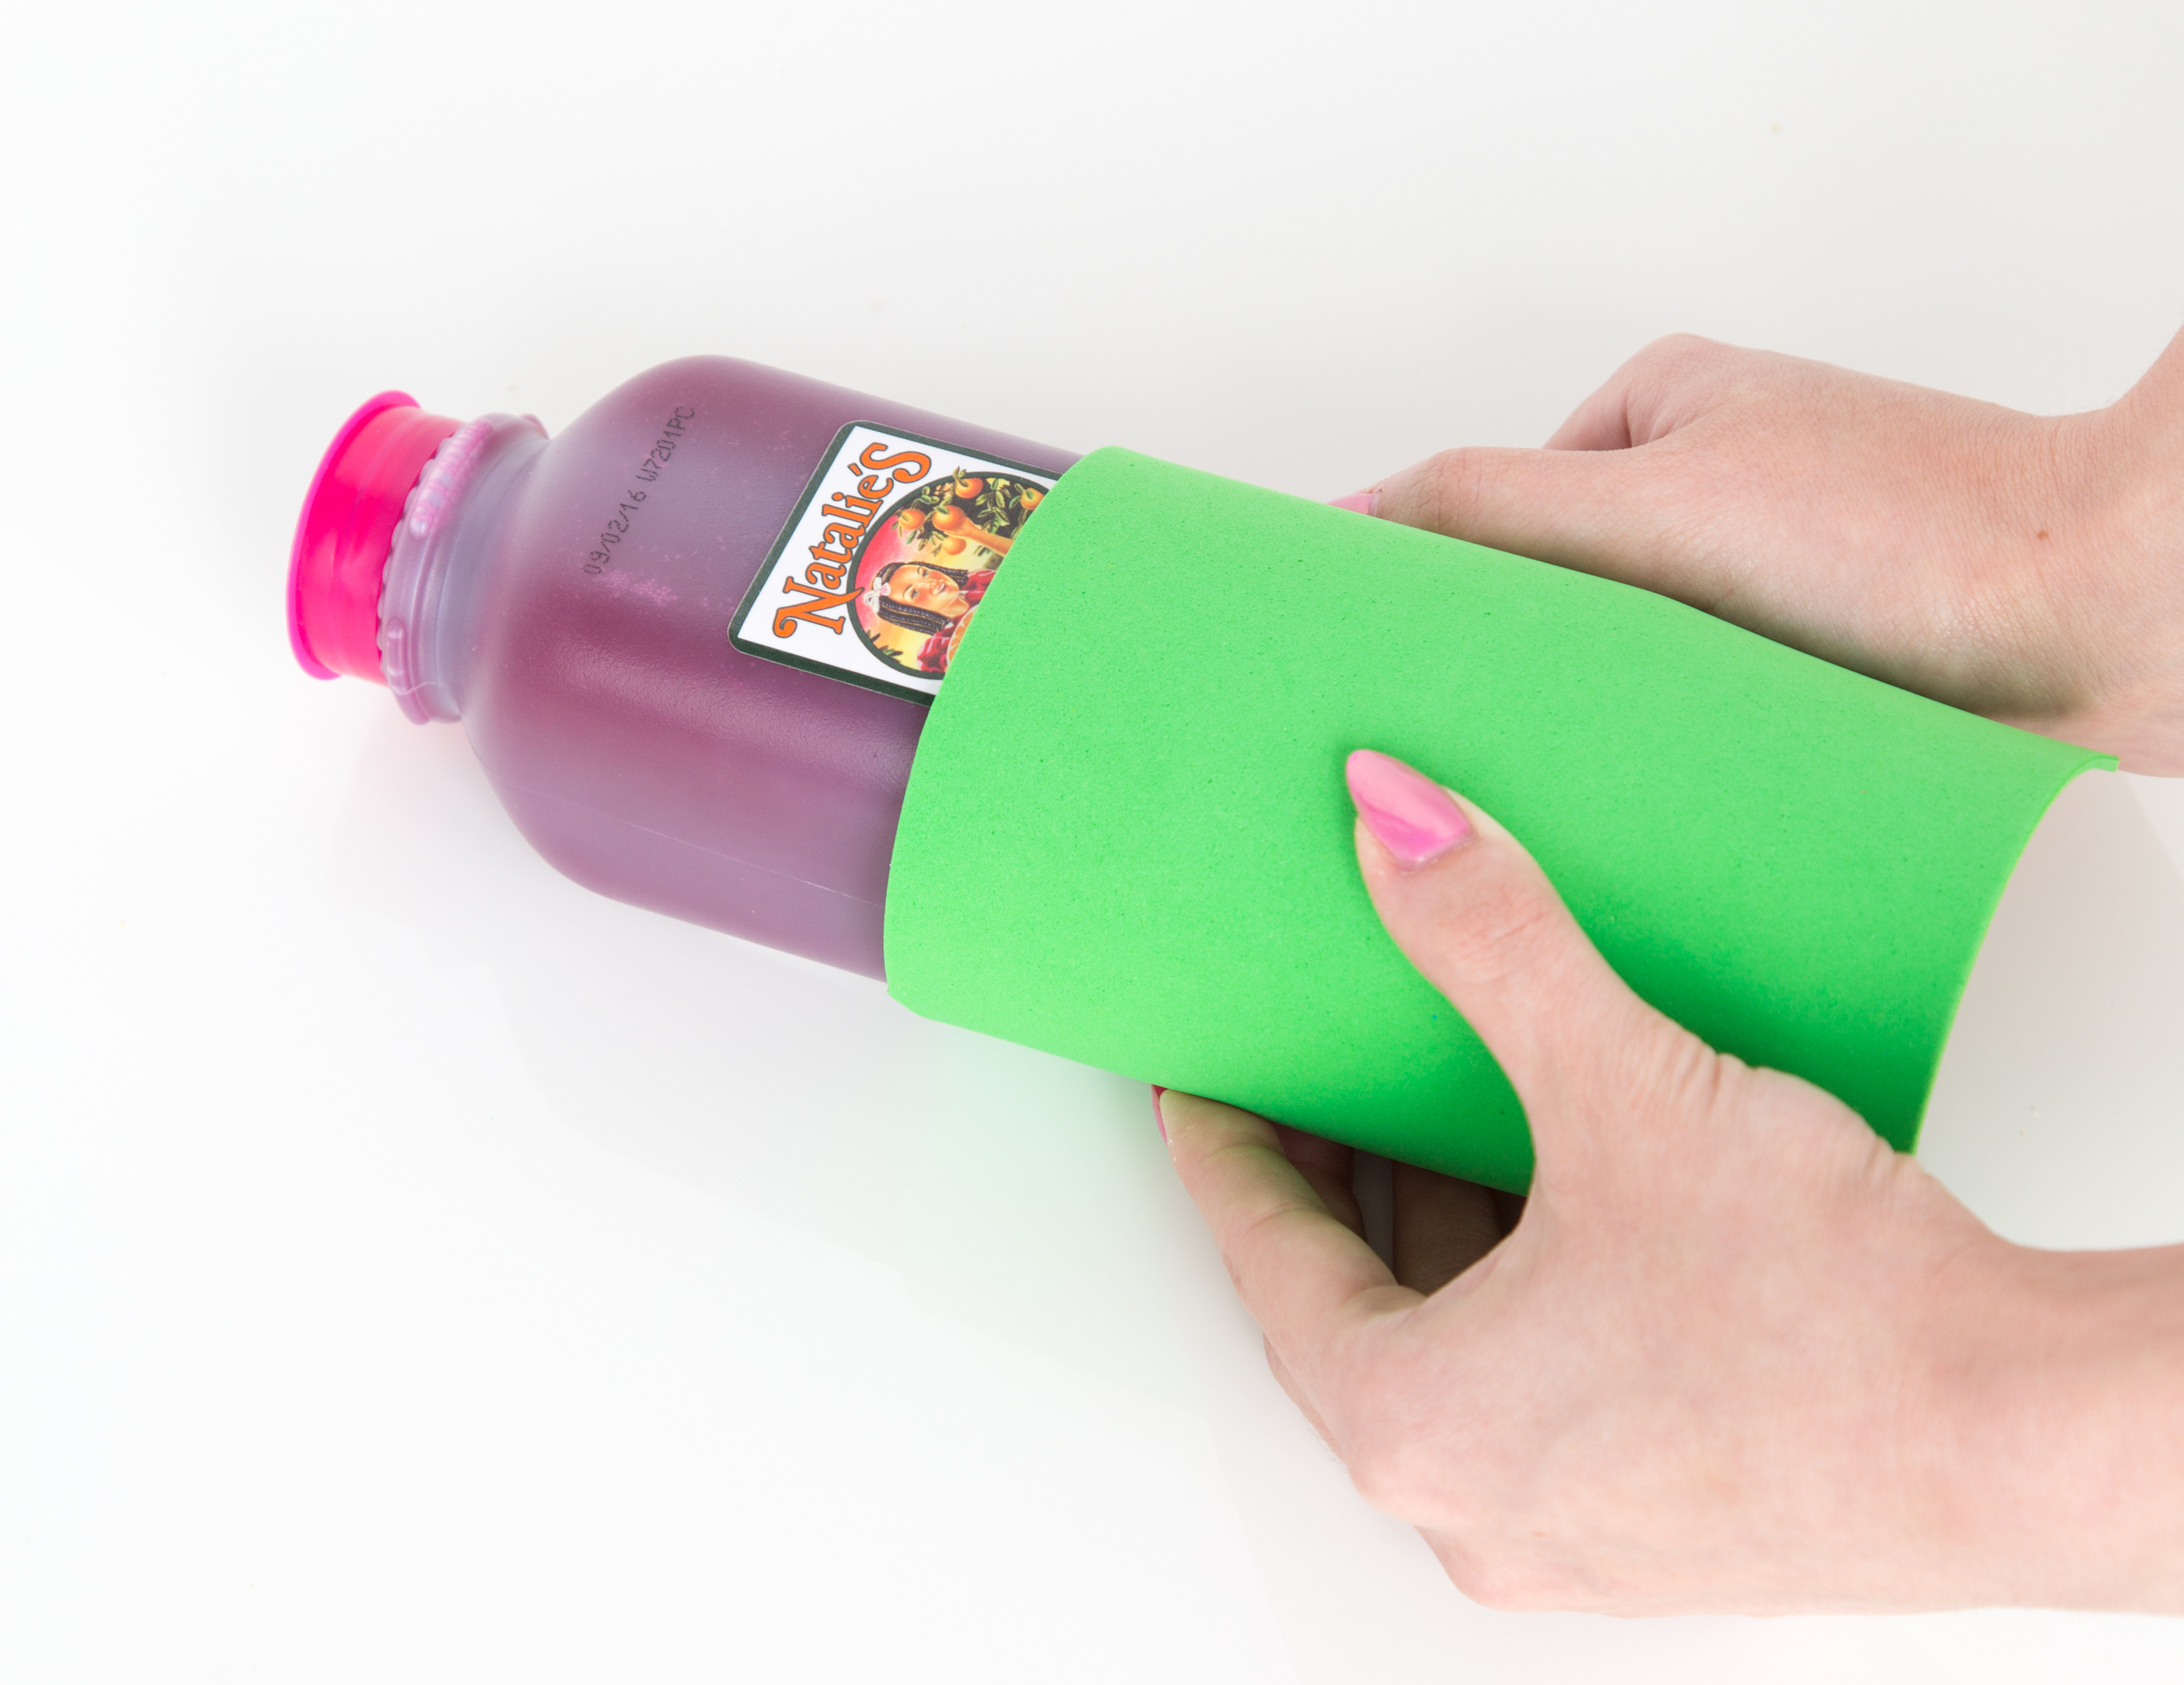
Step 1
Wrap the foam around your Natalie’s juice to see how long of a strip you need to cut.
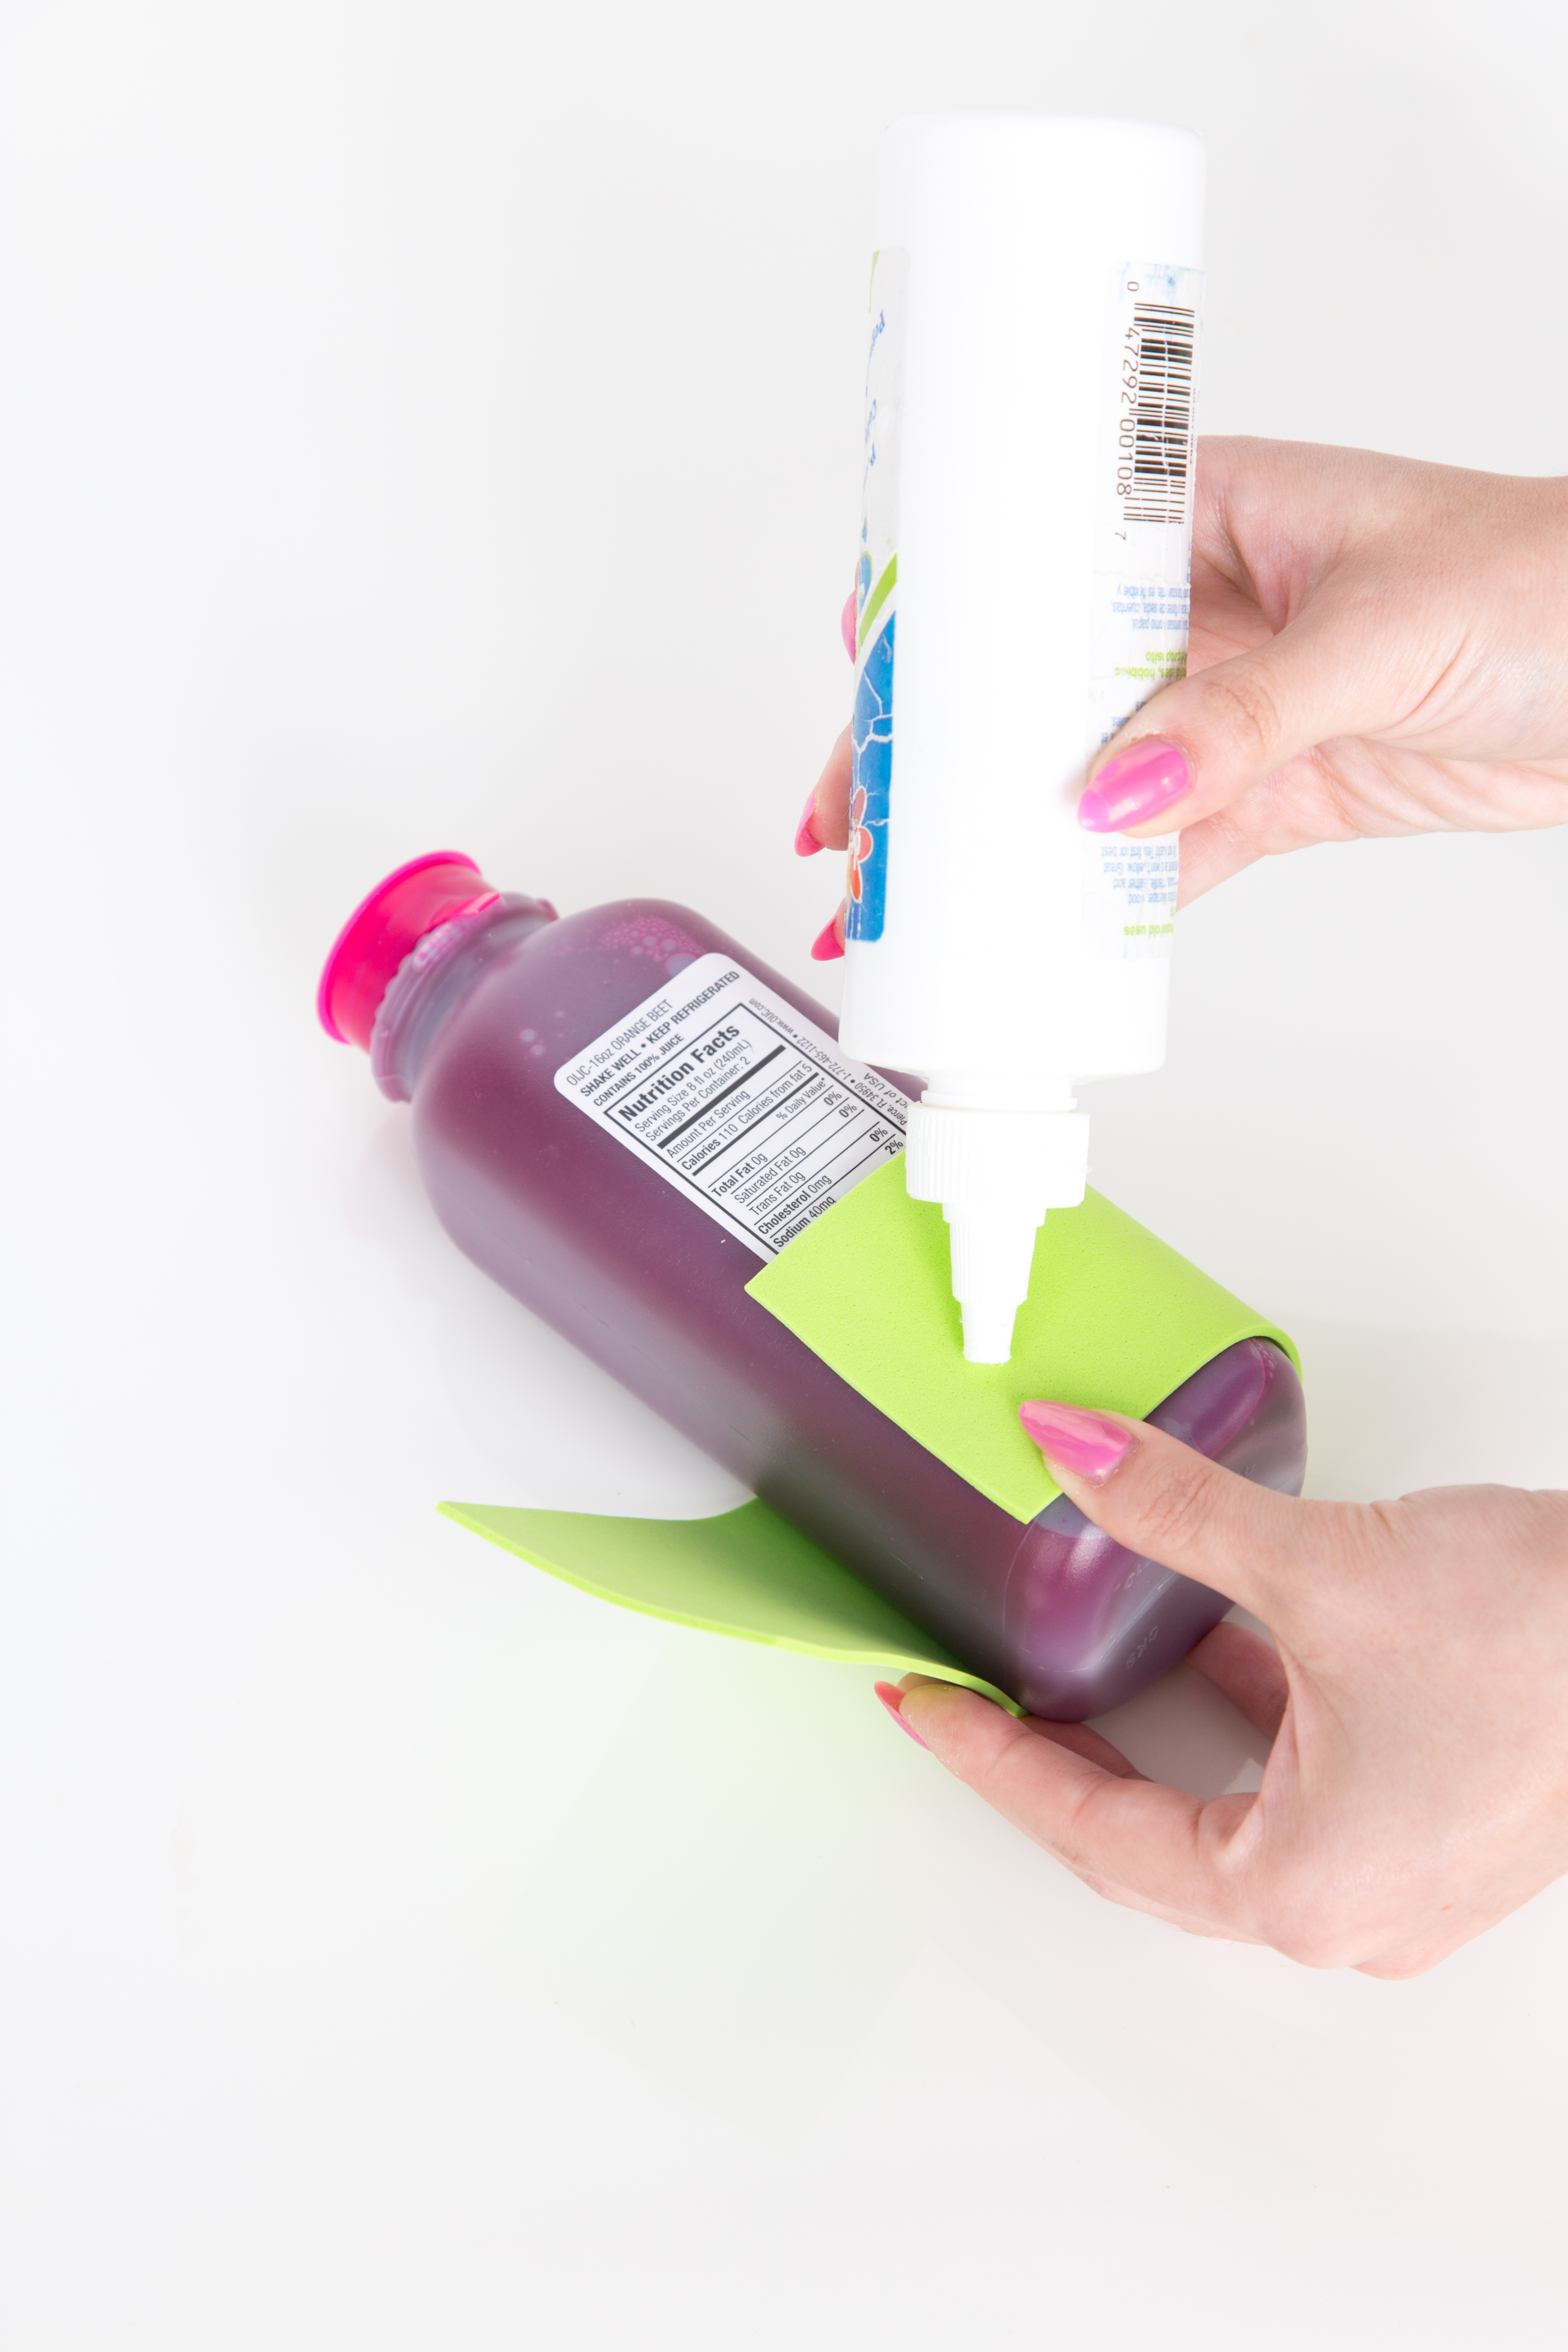
Step 2
Cut out the strip of foam and glue both ends together so it fits snugly around the juice.
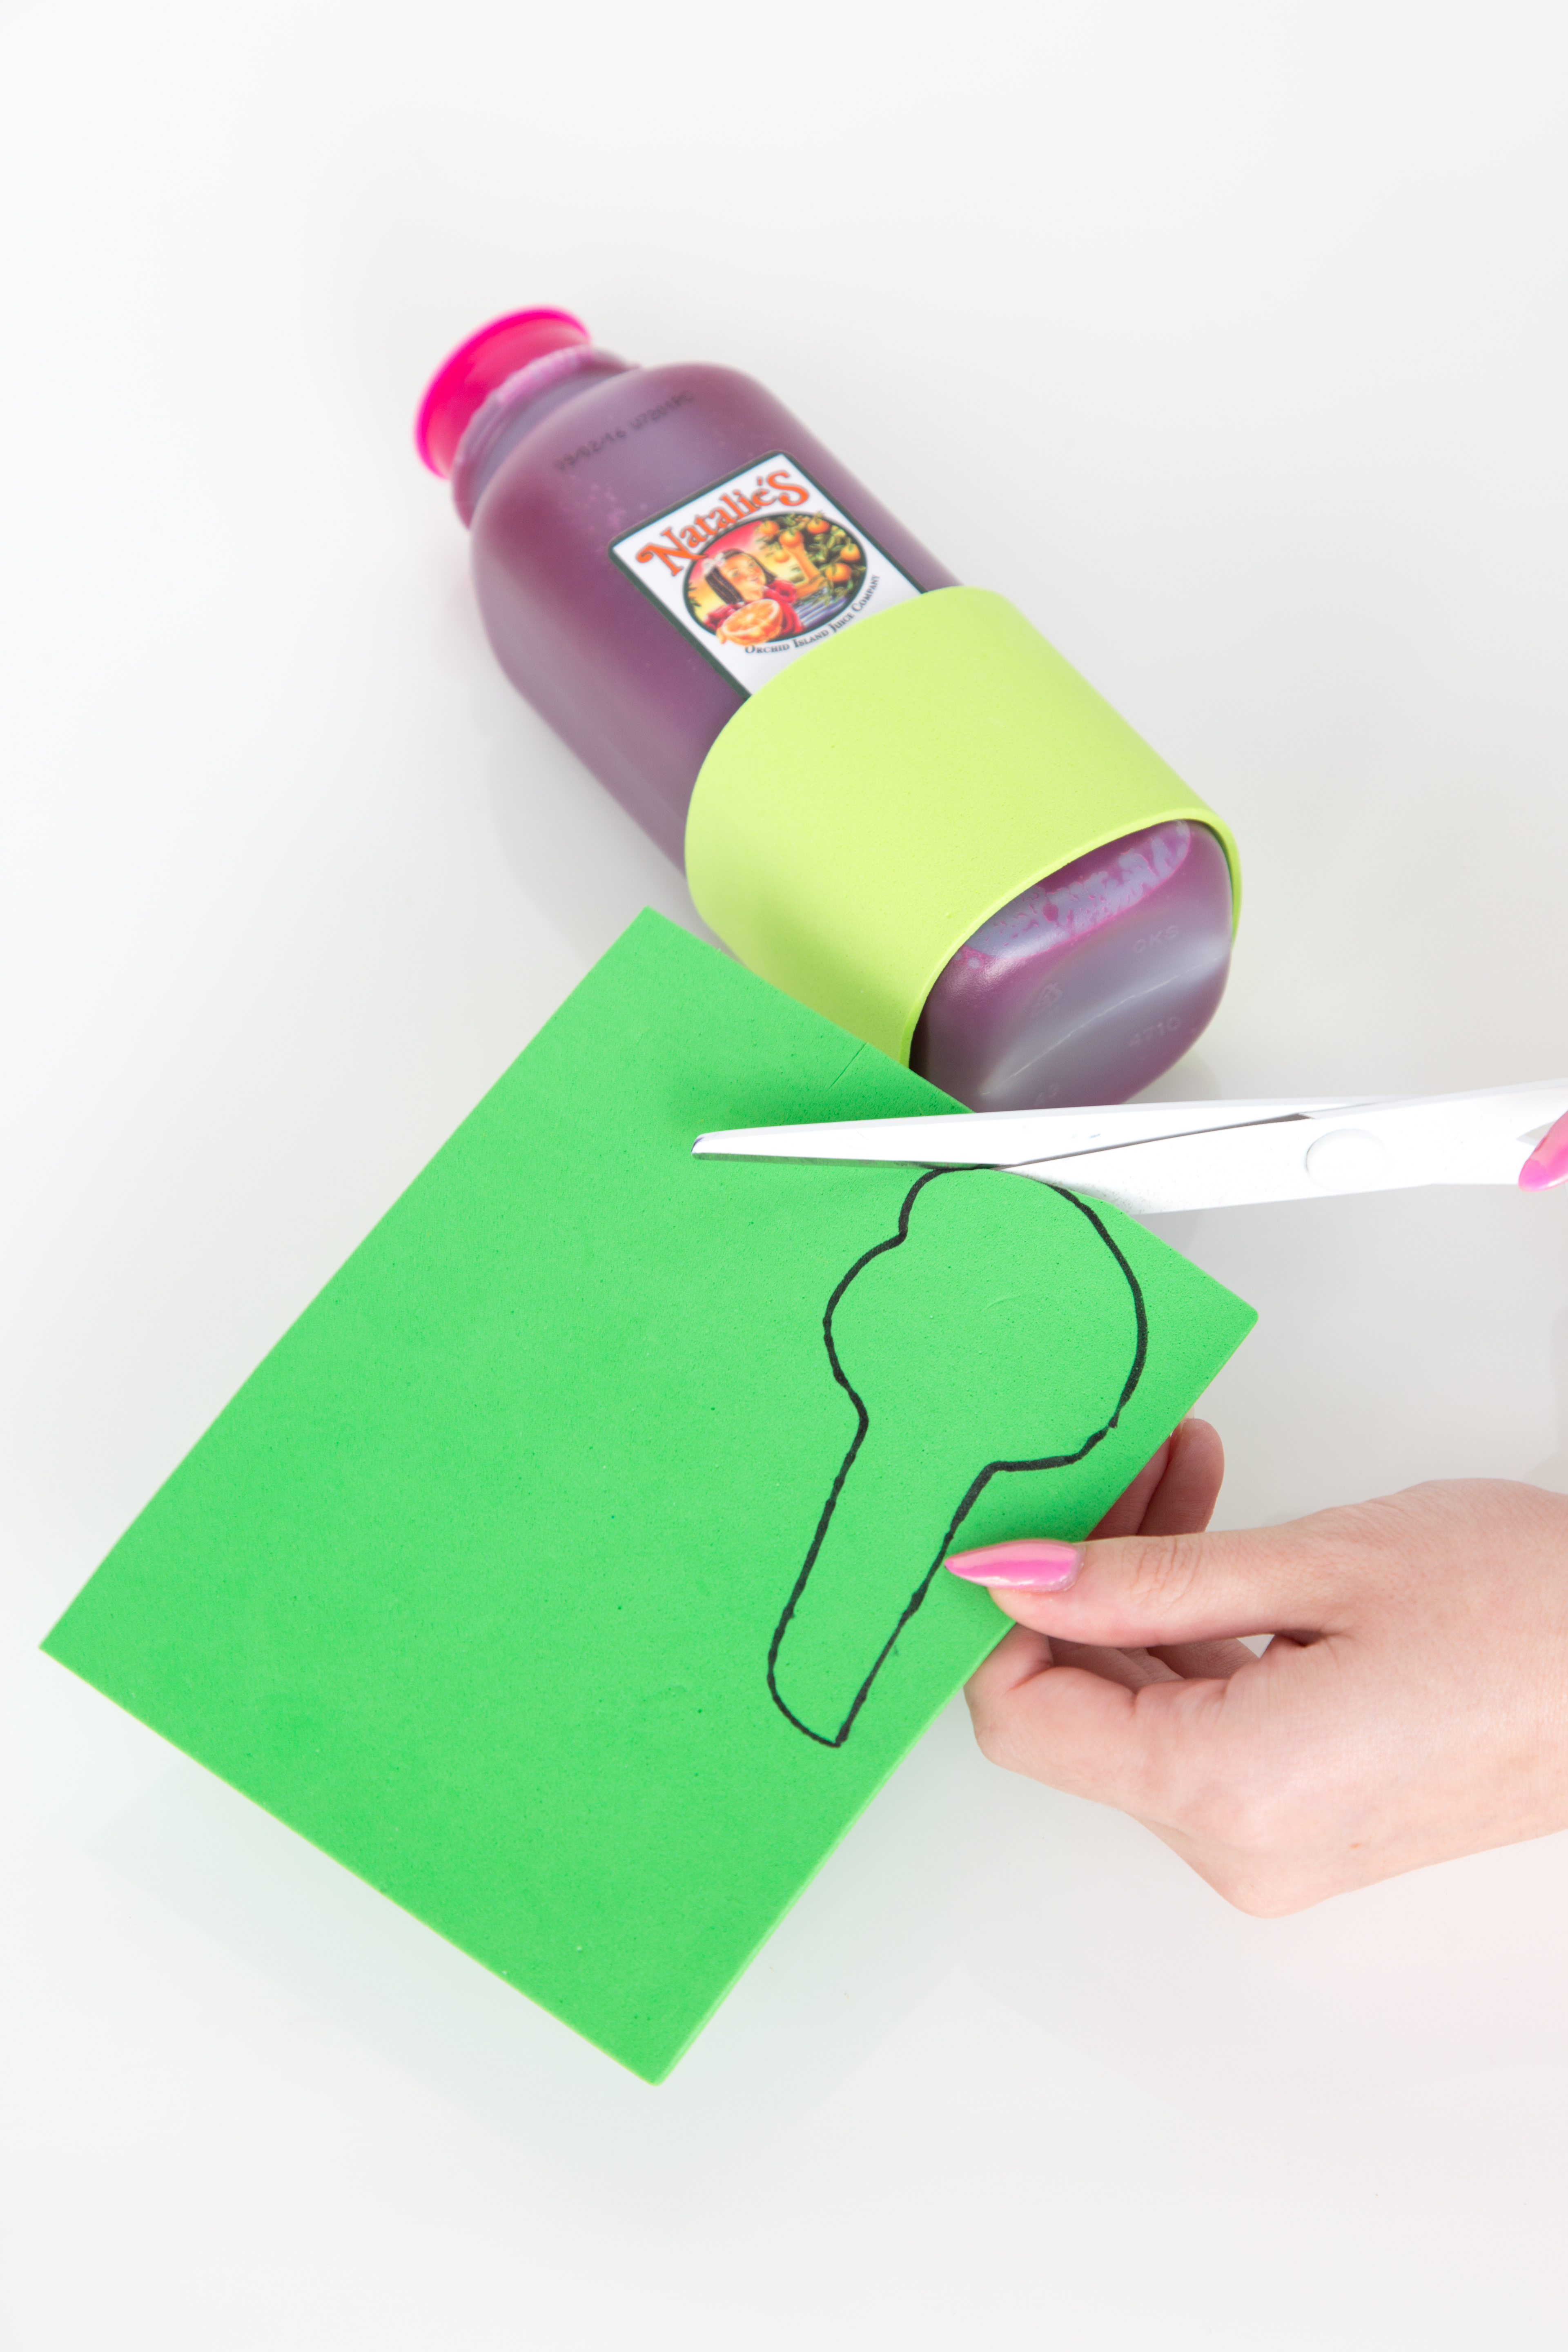
Step 3
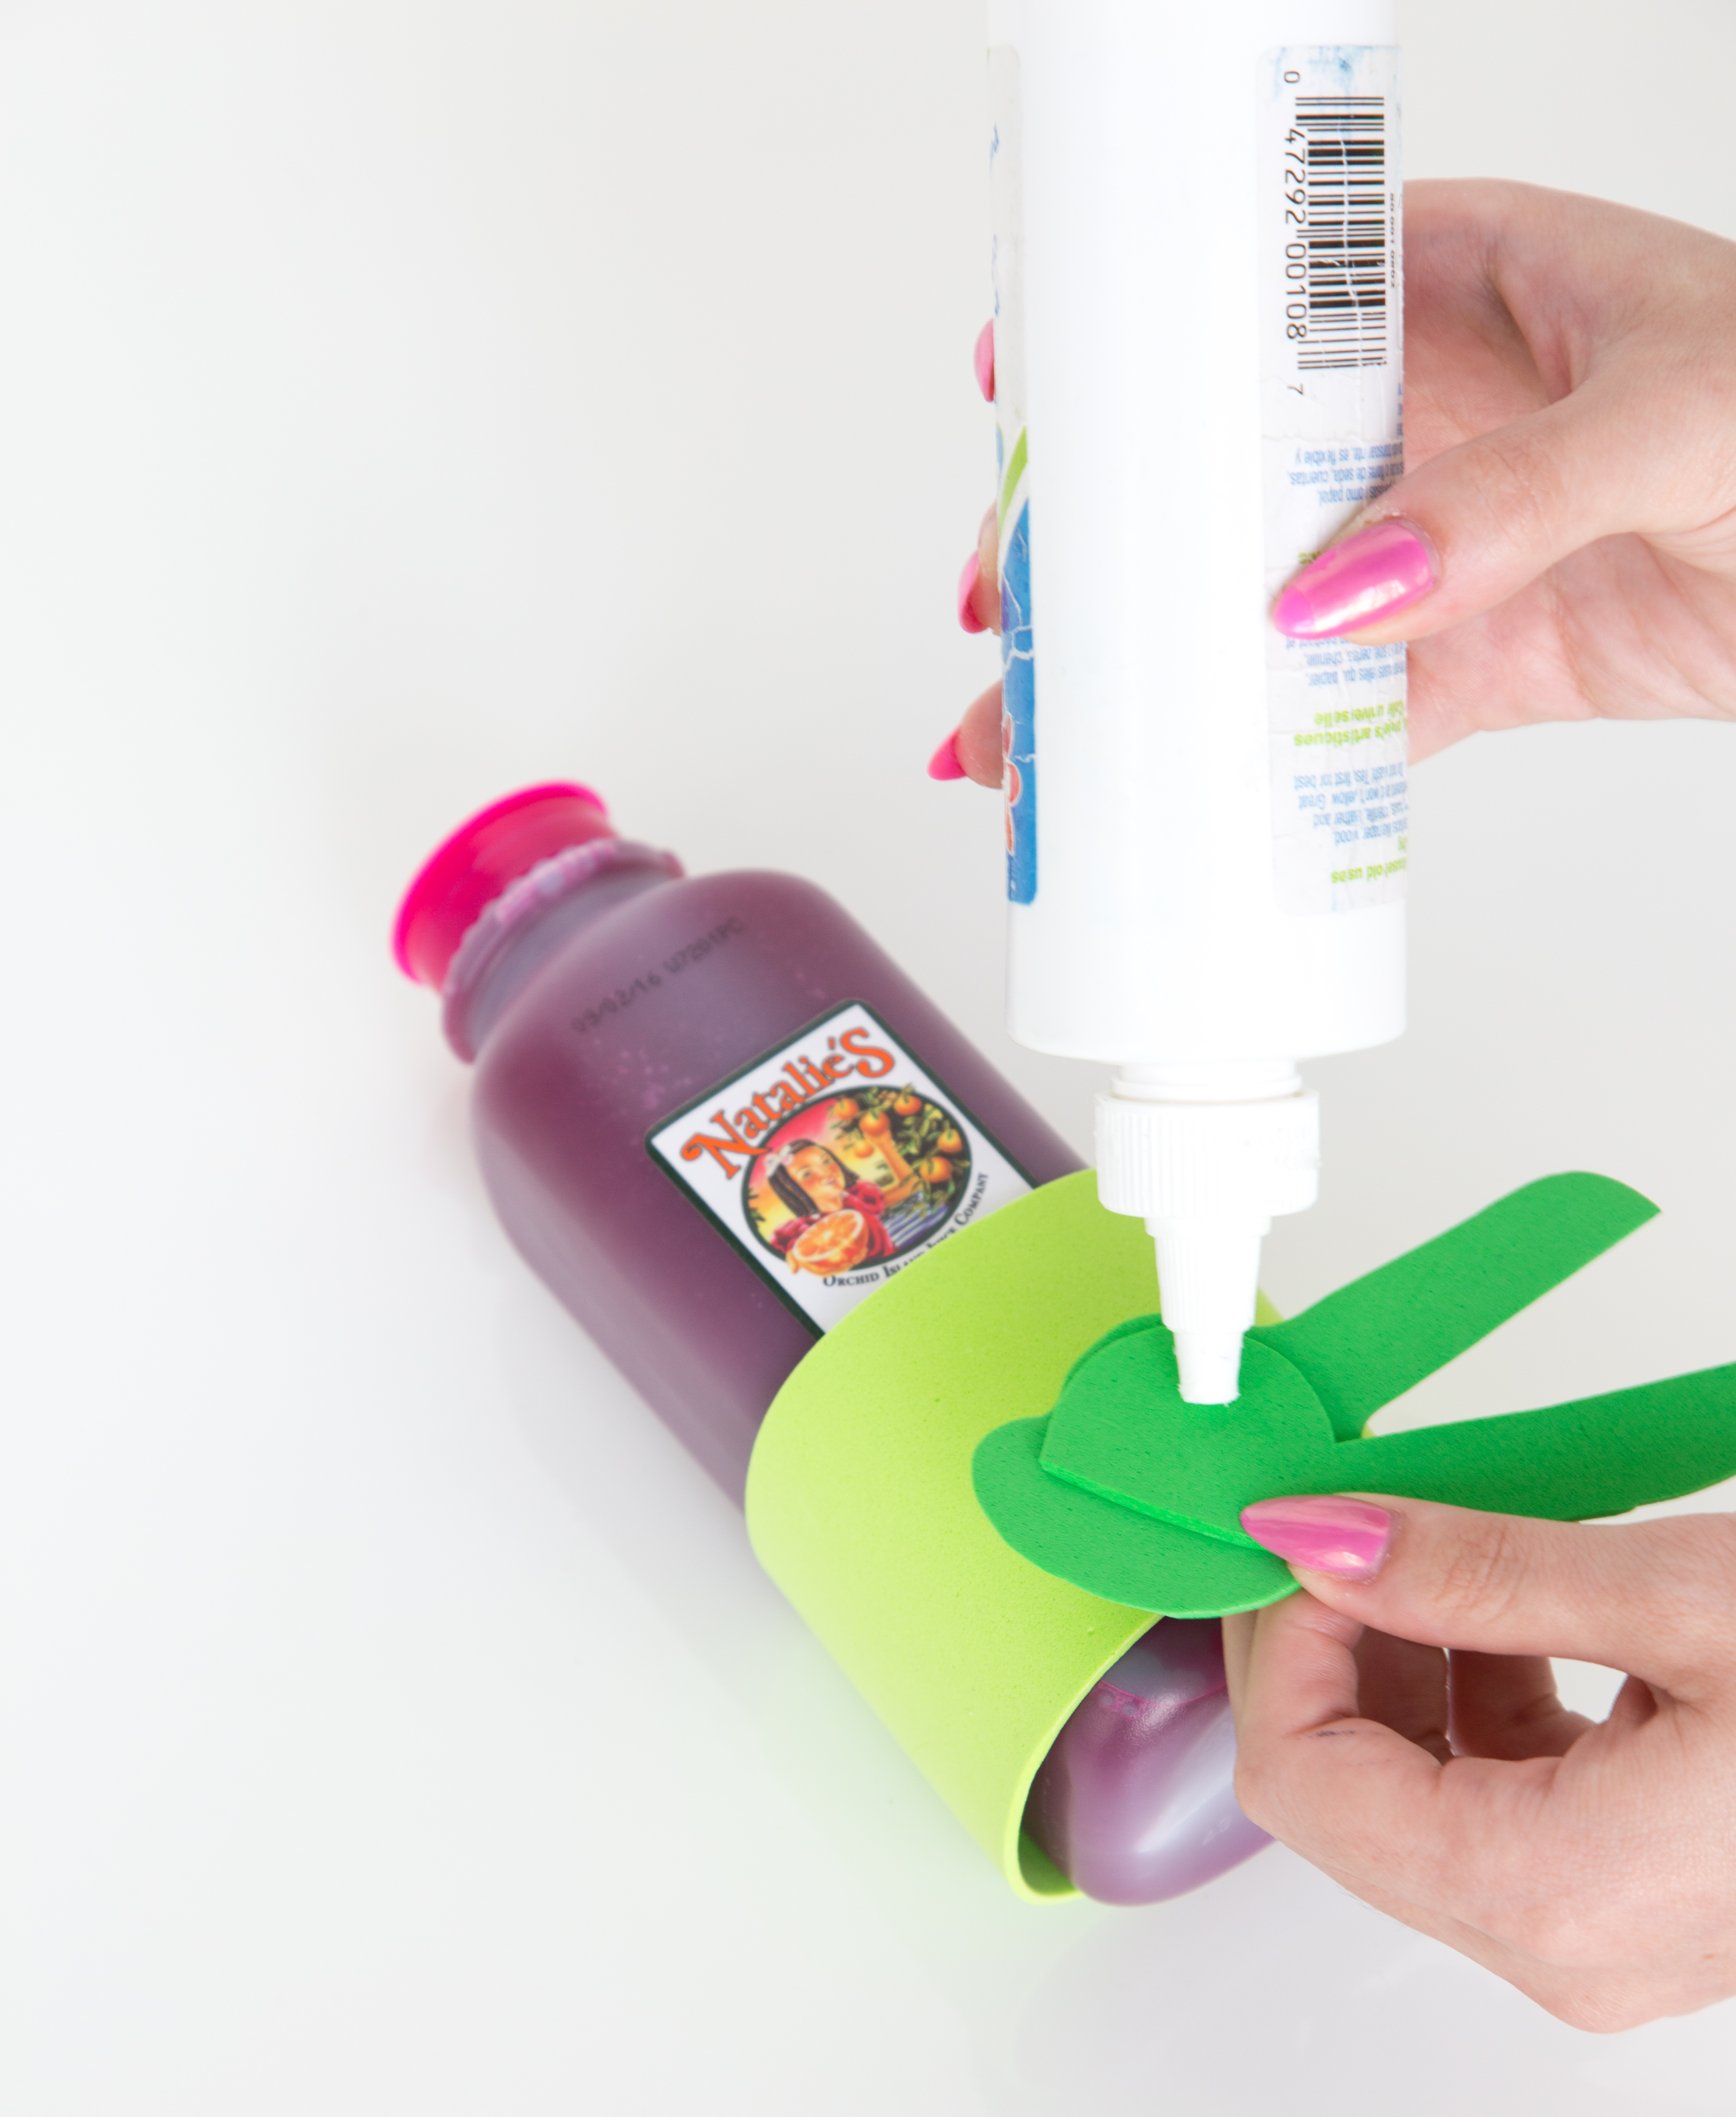
Draw an animal head, tail and ears onto another pierce of foam and cut them out.
Glue them to the front of the strip you just made.
Step 4
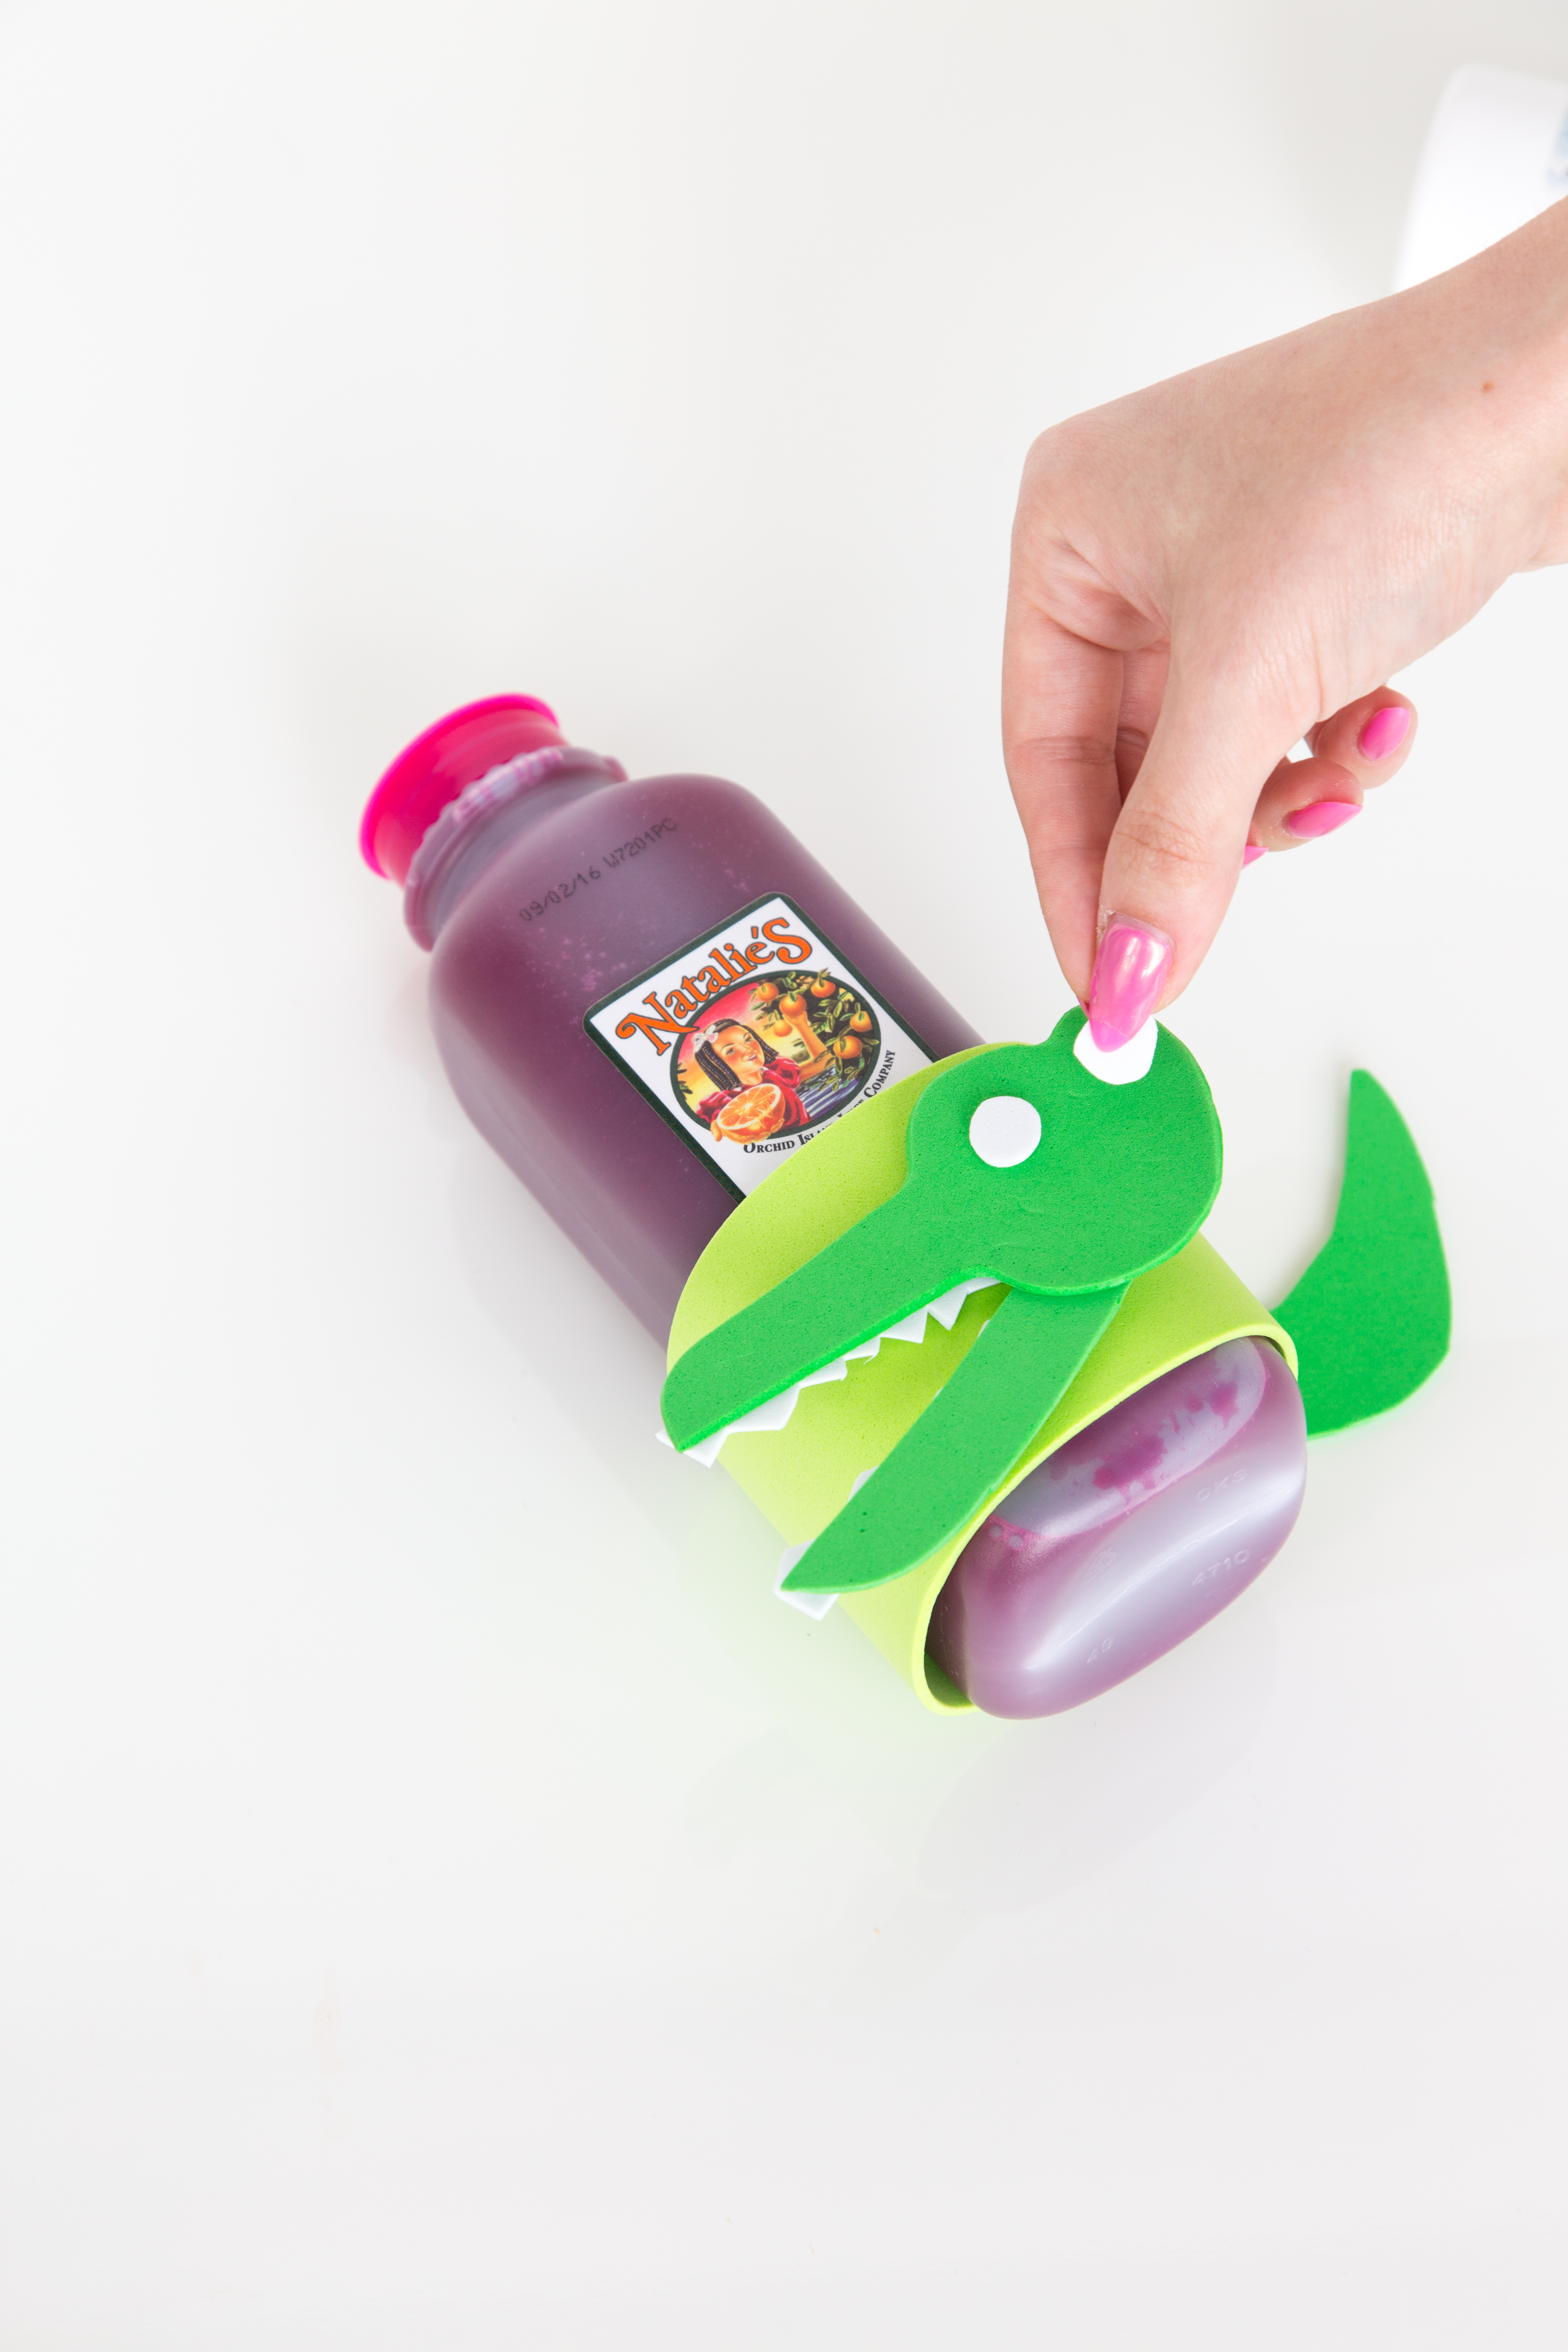
Cut out white eyes and glue them onto the face of your animal.
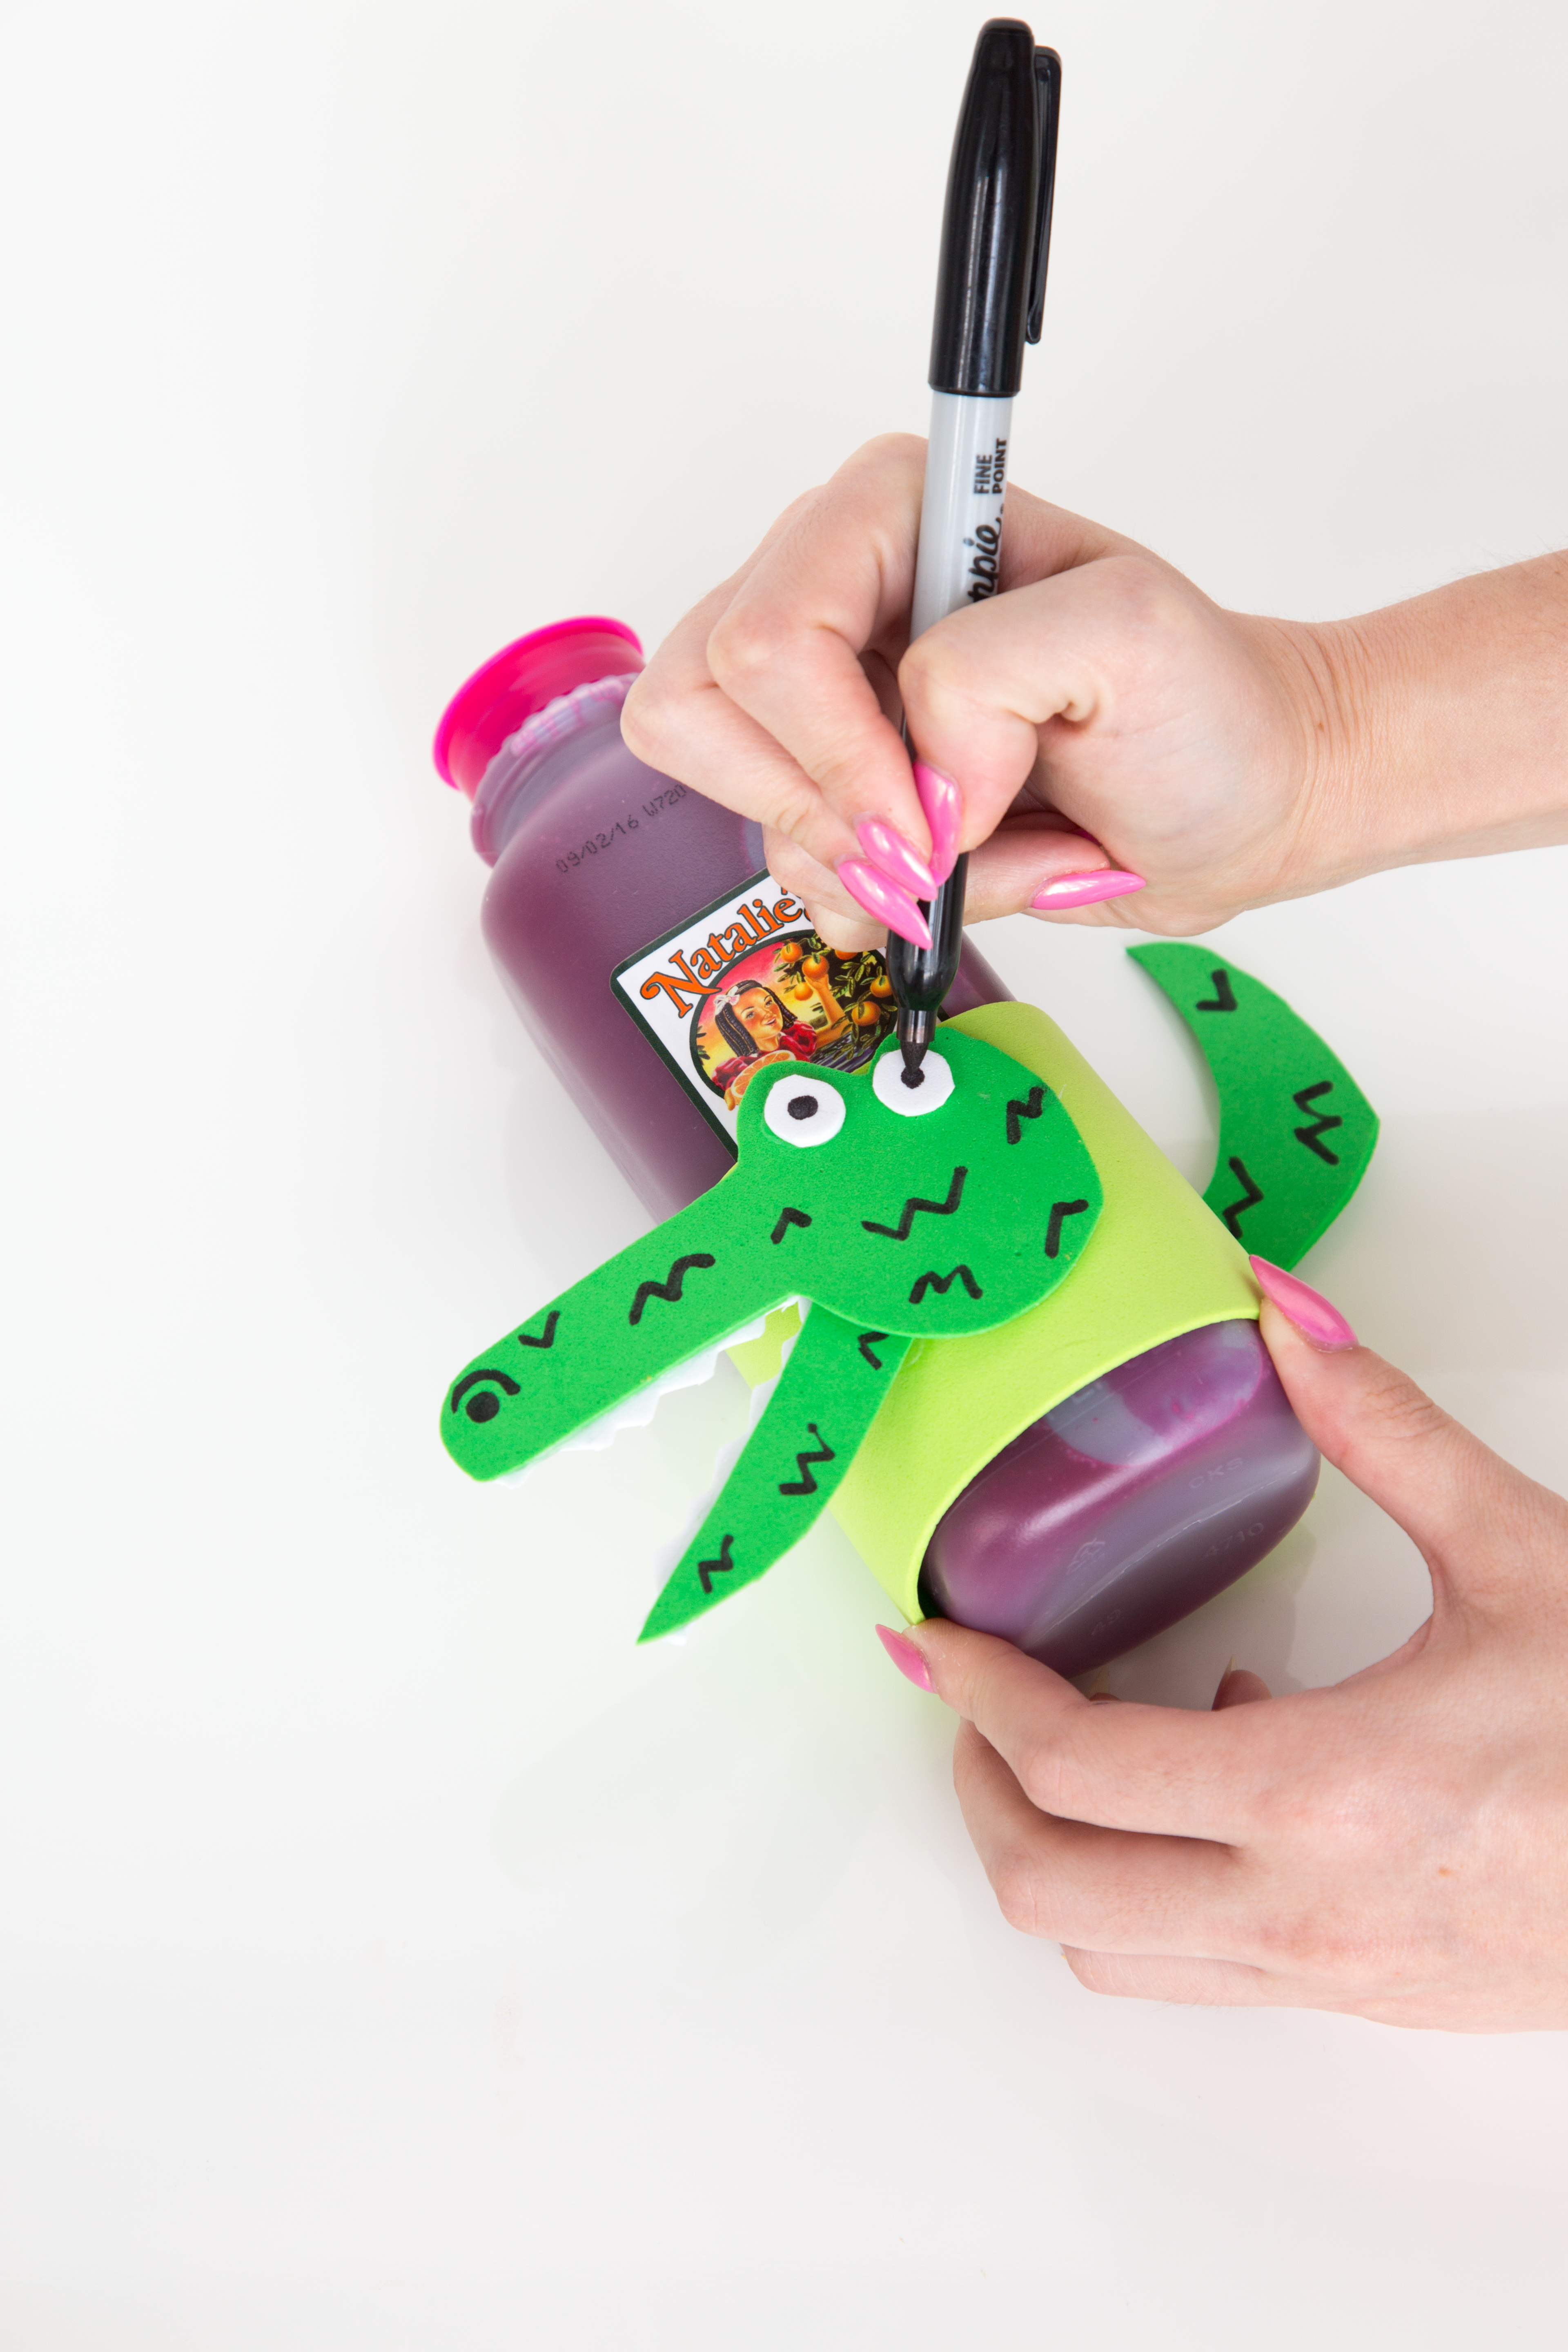
Step 5
Use a sharpie to draw details on your animal: Whiskers, pupils, patterns, etc.
Step 6
Slide the foam around your Natalie’s Juice and pack it in your child’s school lunch!